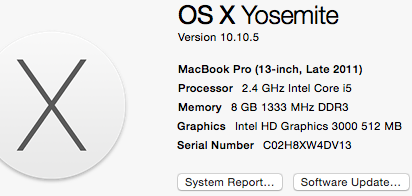
Imagemagick convert can be used to compress and screenshot images by changing unique colors, image depth etc. Here are some ways to compress images created by taking screenshots on Mac. We’ll use the following image (img1.png) created using screen capture on Mac.

convert – compress by reducing colors
Reduce colors to 256
$ convert img1.png +dither -colors 256 img2.png
$ stat -f "%N: %z bytes" img1.png  img2.png
img1.png: 47628 bytes
img2.png: 17881 bytes
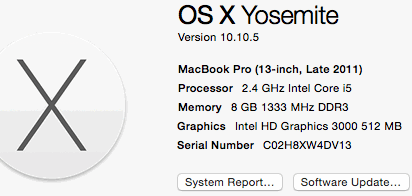
Here is the output image (img2.png)

Reduce colors to 128
$ convert img1.png +dither -colors 128 img3.png
$ stat -f "%N: %z bytes" img1.png  img3.png
img1.png: 47628 bytes
img2.png: 16231 bytes
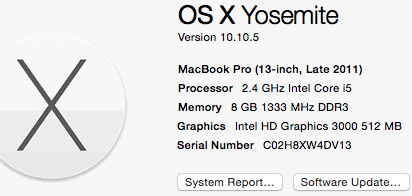
Here is the output image (img3.png)

convert – compress by reducing colors and depth
Reduce colors to 256 and depth to 8
$ convert img1.png +dither -colors 256 -depth 8 img4.png
$ stat -f "%N: %z bytes" img1.png  img4.png
img1.png: 47628 bytes
img2.png: 17382 bytes
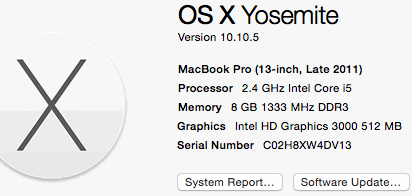
Here is the output image (img4 .png)
.png)
Final notes
Imagemagick convert with options +dither -colors 256 seems to be working well in most cases. It may be a good idea to keep this as your default. If you need higher compression in specific cases, you may want to explore multiple values of these options.