Jenkins is an open source continuous integration (CI) tool written in java. It can be used to run (on-demand or periodic) build and test jobs based on scm tools like subversion and git. Here are steps to install and setup a test Jenkins job on Ubuntu Linux.
Install Jenkins package using apt-get
$ wget -q -O - https://jenkins-ci.org/debian/jenkins-ci.org.key | sudo apt-key add -
$ sudo sh -c 'echo deb http://pkg.jenkins-ci.org/debian binary/ > /etc/apt/sources.list.d/jenkins.list'
$ sudo apt-get update
$ sudo apt-get install jenkins
View jenkins package files
$ dpkg -L jenkins
/.
/usr
/usr/share
/usr/share/doc
/usr/share/doc/jenkins
/usr/share/doc/jenkins/changelog.gz
/usr/share/doc/jenkins/copyright
/usr/share/jenkins
/usr/share/jenkins/jenkins.war
/etc
/etc/logrotate.d
/etc/logrotate.d/jenkins
/etc/default
/etc/default/jenkins
/etc/init.d
/etc/init.d/jenkins
/var
/var/cache
/var/cache/jenkins
/var/lib
/var/lib/jenkins
/var/log
/var/log/jenkins
Check jenkins service status
$ sudo service jenkins status
Jenkins Continuous Integration Server is running with the pid 1029
Access remote jenkins using port forwarding
In case your jenkins installation is on a remote machine (e.g. Amazon EC2), you can forward local port 8080 (or some other in case this is occupied) to remote port 8080. This way you won’t have to open port 8080 to public. Here is the command to do the port forwarding
$ ssh -L 8080:localhost:8080 user@machinename
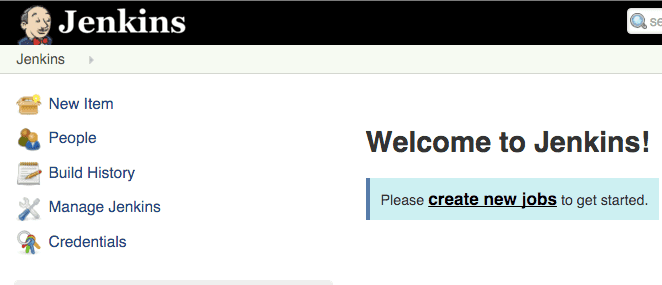
Now view the jenkins page by visiting localhost:8080.
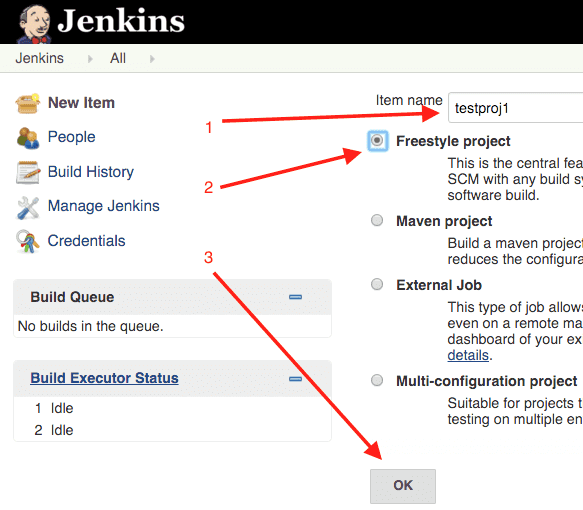
Create new jenkins job
Click on create new job and enter the job name and select Freestyle project as shown below. Click OK.
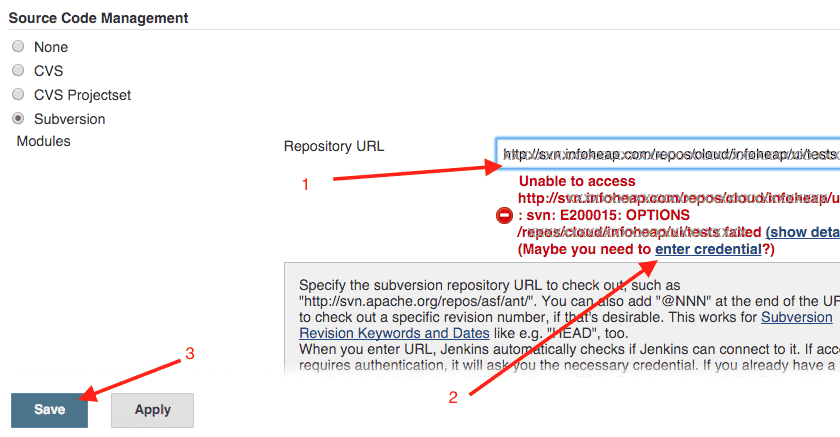
Setup Jenkins source code using subversion
We’ll use subversion for the purpose of this tutorial. Enter the subversion repository urls and enter credentials for the same. You may want to specify repository path till the directory having test code.
Setup Jenkins Build step
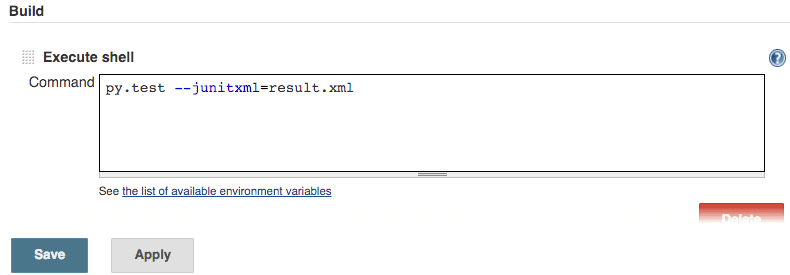
Scroll to Build section and click on add build step and then select execute shell.

Enter the command to run your tests. We will use the following pytest command
$ py.test --junitxml=result.xml
You must have a python test written in pytest in the directory path provided above during subversion setup. You can refer to pytest tutorial for creating a simple test.
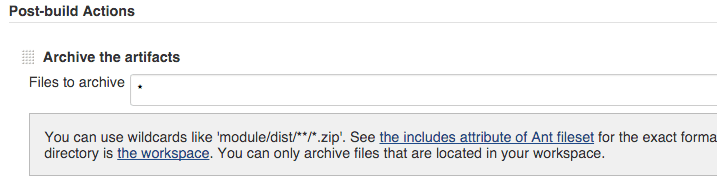
Setup post build step – archive the artifacts
Scroll to add post-build action section and click on it and select Archive the artifacts. Enter * in Files to archive textbox.
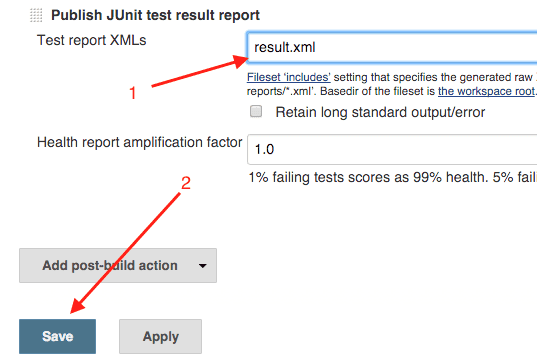
Setup post build step – publish junit test results report
Add one more post-build action by selecting publish junit test results report this time. Enter result.xml in Test report XMLs text box and click save.
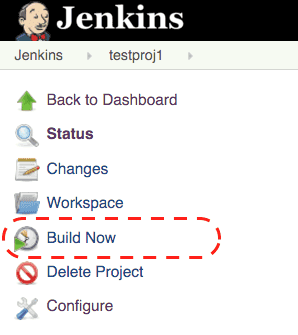
Run the Jenkins job
Click on Build Now to run the job as shown below:
See build details
You should be able to see all the jobs in job build history.
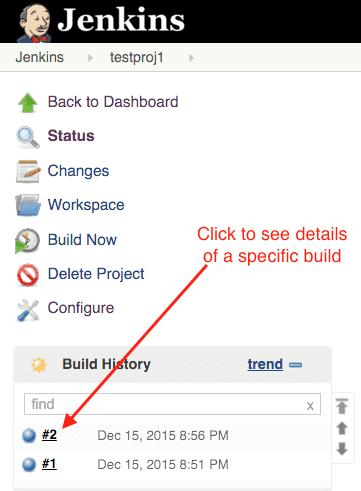
Click on a specific job number to see build details of that specific build.
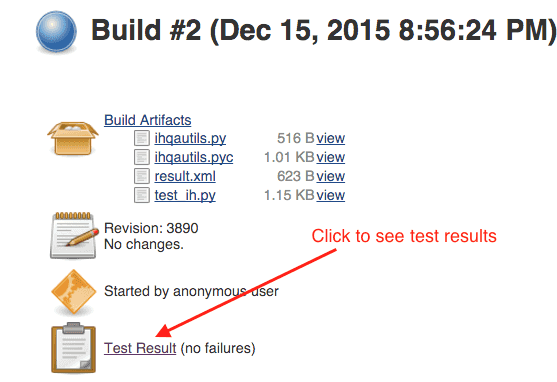
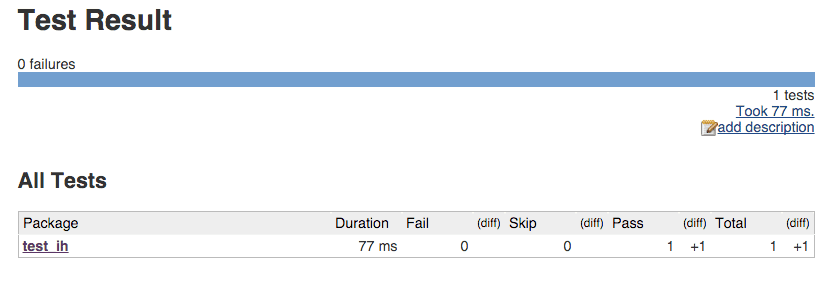
View text results
Click on view test results on build details page to view test results.