YouTube automatically generates caption for the video a publisher has uploaded on YouTube. But these captions may not be very good depending upon the accent of the creator in the video. YouTube lets you upload your own closed captions for the video in English and other languages.
Benefits of uploading your own captions
Here are some benefits of uploading your own captions:
- It is easier for other language users to understand your video as compared to automatically generated captions.
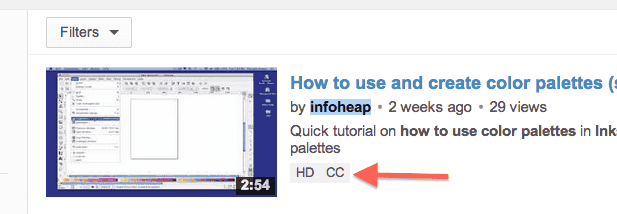
- Closed captions mark “cc” also appears in search results as shown below which tells users that the video has captions available:

- User can also search for videos captions by appending “,cc” in search query. If you have caption uploaded for the video, it has better chances of matching with the query.
Steps to upload closed caption
Here are the steps to upload closed caption for your video.
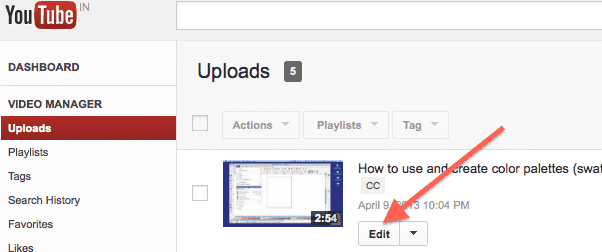
- Go to Video manager in youtube and click on Edit on the video you want to upload closed captions for:

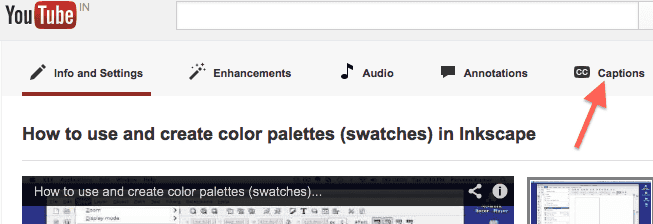
- In the video editor screen, click on “captions” menu link as shown below:

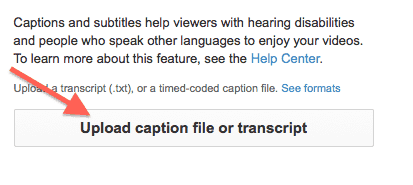
- Click on upload caption file or transcript button as shown below:

- You can get more information about this at Add caption – YouTube help page. You can either add a caption file or transcript. In caption file you have to specify the time as well. I found caption file in SubViewer format (.sbv) easy and intuitive option. You can explore transcript option if you don’t want to specify time in the file. Create caption.sbv file in the following format:
0:00:05,0:00:10
In this video we'll cover how to use color palettes in Inkscape

0:00:11,0:00:13
Lets start by creating an empty document

0:00:14,0:00:16
And then go to views
You can also specify time accurate to one hundredth of a second. e.g.
0:00:05.01,0:00:10.31 - Upload this file using the upload interface as mentioned above.
- Now play the video (in the captions edit page itself) and see if captions are being displayed properly. If you find any time issue, then you can fix that in the caption file and upload it again.