InfoHeap
Tech
Navigation
  • Home
  • Tutorials
    • CSS tutorials & examples
    • CSS properties
    • Javascript cookbook
    • Linux/Unix Command Line
    • Mac
    • PHP
      • PHP functions online
      • PHP regex
    • WordPress
  • Online Tools
    • Text utilities
    • Online Lint Tools
search

Mac tutorials

  • Brew
  • Chrome enable webgl on old macbooks
  • How to change computer display name on Mac
  • How to change default system voice for text-to-speech on Mac
  • How to install drupal on Mac usin MAMP
  • How to remove hard drive icon from mac desktop
  • How to use rrdtool plot traffic from network interface
  • How to view your WiFi password on Mac
  • Mac - change desktop icons size
  • Mac - how to take timed screenshot
  • Mac - how to always show scroll bar
  • Mac - how to change default location for screenshots
  • Mac - how to open apps not from App Store
  • Mac - how to take screenshots
  • Mac - how to use kubernetes with Lima-VM
  • Mac - kubernetes minikube - create deployment
  • Mac - make spotlight search faster
  • Mac - show volume icon on menu bar
  • Mac Command Line
  • Mac Finder
  • Mac Preview
  • Mac m1 - How to Install Kubernetes with kind
  • Mac m1 - How to Install Kubernetes with minikube
  • Mac m1 - minikube - create multi node kubernetes cluster
  • Mac podman quick start guide
  • NestJS Quick start tutorial on Mac
  • NextJS Quick start tutorial on Mac
  • Vagarant quick start guide on Mac
  • Windows on Mac
  • minikube kubernetes - create deployment with multiple replica and load balancer
  • minikube kubernetes - how to access service IP endpoint using curl
  • minikube kubernetes - how to access specific pod IP endpoint using curl
 
  • Home
  • > Tutorials
  • > Mac

Mac m1 – How to Install Kubernetes with minikube

on Dec 11, 2022

Steps to install kubernetes on Mac m1:

  1. Install docker on mac (m1) from the link. Run docker.
  2. Install minikube. minikube lets you run Kubernetes on your local computer
    brew install minikube
  3. Start minikube cluster (minikube detailed documentation)
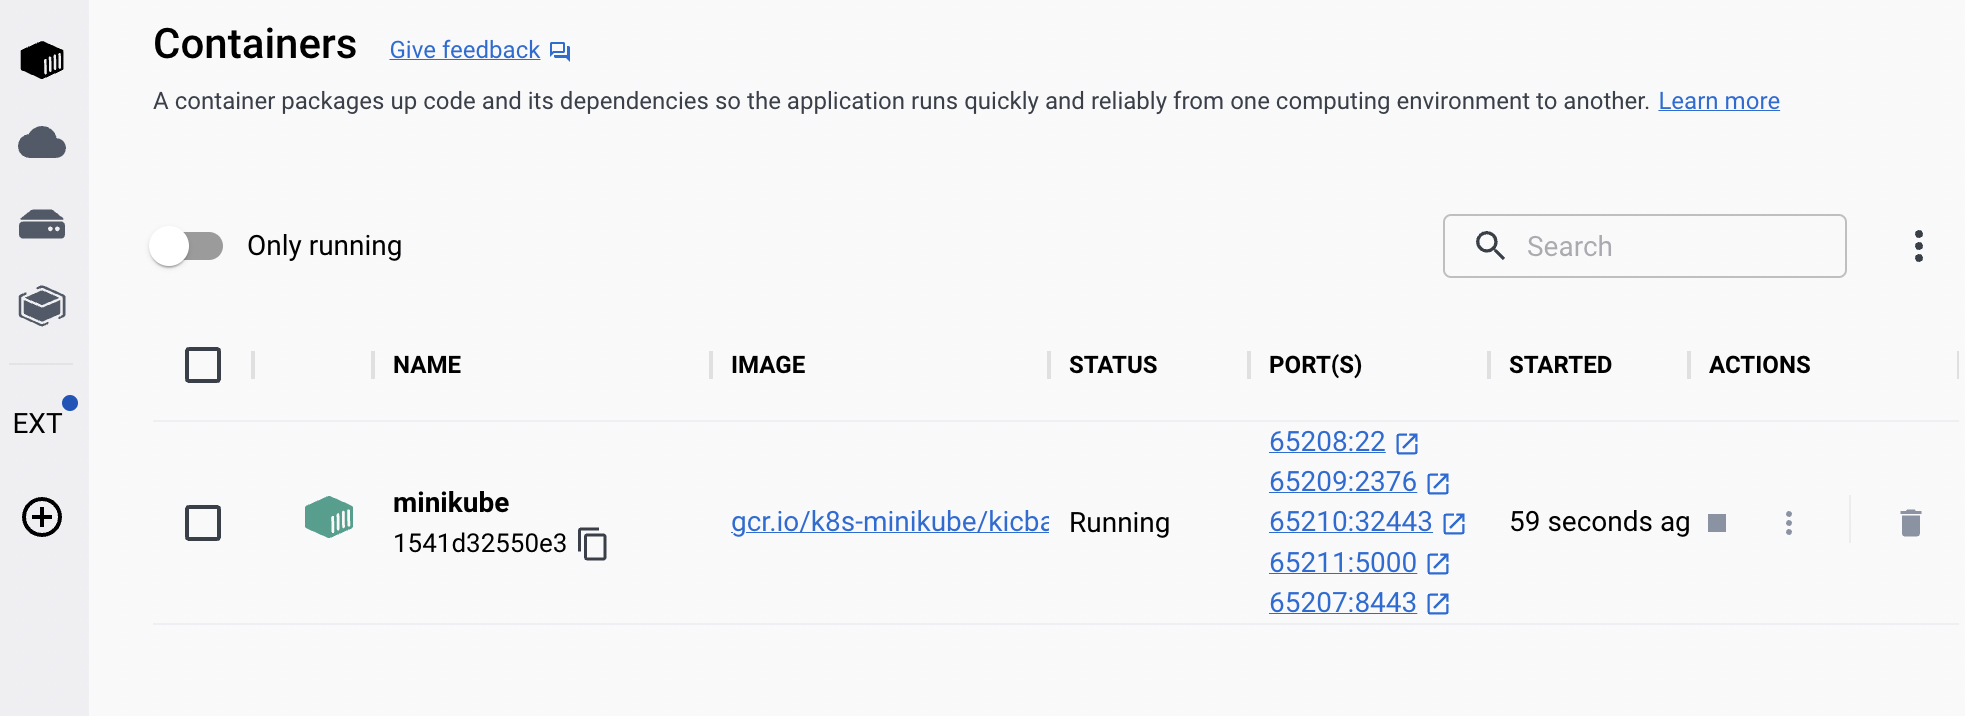
    minikube start
    minikube v1.28.0 on Darwin 12.6 (arm64)
    ✨  Automatically selected the docker driver
    📌  Using Docker Desktop driver with root privileges
    👍  Starting control plane node minikube in cluster minikube
    🚜  Pulling base image ...
    🔥  Creating docker container (CPUs=2, Memory=7803MB) ...
    🐳  Preparing Kubernetes v1.25.3 on Docker 20.10.20 ...
        ▪ Generating certificates and keys ...
        ▪ Booting up control plane ...
        ▪ Configuring RBAC rules ...
    🔎  Verifying Kubernetes components...
        ▪ Using image gcr.io/k8s-minikube/storage-provisioner:v5
    🌟  Enabled addons: storage-provisioner, default-storageclass
    🏄  Done! kubectl is now configured to use "minikube" cluster and "default" namespace by default
  4. This will create a minikube cluster in docker as shown below
  5. Install kubectl
    brew install kubectl
  6. Check kubectl version
    kubectl version --client --output=yaml
  7. Check cluster info using kubectl
    kubectl cluster-info
    Kubernetes control plane is running at https://127.0.0.1:50303
    CoreDNS is running at https://127.0.0.1:50303/api/v1/namespaces/kube-system/services/kube-dns:dns/proxy
    
    To further debug and diagnose cluster problems, use 'kubectl cluster-info dump'.
  8. Get kubectl config (this is configured when cluster is created to set default context for cluster)
    kubectl config view
  9. Change default context for kubectl command
    kubectl config use-context minikube
    ( Use kubectl config current-context to see current context)
  10. List all pods on a specific namespace (use -A for all namespaces)
    kubectl get pods -n kube-system
    NAME                               READY   STATUS    RESTARTS        AGE
    coredns-565d847f94-52kkd           1/1     Running   0               2m58s
    etcd-minikube                      1/1     Running   0               3m11s
    kube-apiserver-minikube            1/1     Running   0               3m13s
    kube-controller-manager-minikube   1/1     Running   0               3m12s
    kube-proxy-64pwk                   1/1     Running   0               2m58s
    kube-scheduler-minikube            1/1     Running   0               3m13s
    storage-provisioner                1/1     Running   1 (2m27s ago)   3m10s
  11. See all namespaces
    kubectl get namespace
  12. View minikube kebernetes dashboard
    minikube dashboard
    (For specific profile use: minikube dashboard –profile minikube2)
  13. Alternate to minikube dashboard (which also uses proxy), we can also run
    kubectl proxy
    kubectl proxy --port=8001
    and visit
    http://127.0.0.1:8001/api/v1/namespaces/kubernetes-dashboard/services/http:kubernetes-dashboard:/proxy/
  14. To delete minikube cluster
    minikube delete
    (use –all to delete all clusters)

Suggested posts:

  1. Mac command line convert svg to png
  2. Mac – docker sample – single container dev env – quick start
  3. Mac m1 – How to Install Kubernetes with kind
  4. Mac docker – create getting-started image and run container using it
  5. Linux – find top directories by used disk size (excluding size of subdirectories)
  6. minikube kubernetes – how to access specific pod IP endpoint using curl
  7. Mac – kubernetes minikube – create deployment
  8. Mac m1 – minikube – create multi node kubernetes cluster
Share this article: share on facebook share on linkedin tweet this submit to reddit
Posted in Tutorials | Tagged Kubernetes, Mac
  • Browse content
  • Article Topics
  • Article archives
  • Contact Us
Popular Topics: Android Development | AngularJS | Apache | AWS and EC2 | Bash shell scripting | Chrome developer tools | Company results | CSS | CSS cookbook | CSS properties | CSS Pseudo Classes | CSS selectors | CSS3 | CSS3 flexbox | Devops | Git | HTML | HTML5 | Java | Javascript | Javascript cookbook | Javascript DOM | jQuery | Kubernetes | Linux | Linux/Unix Command Line | Mac | Mac Command Line | Mysql | Networking | Node.js | Online Tools | PHP | PHP cookbook | PHP Regex | Python | Python array | Python cookbook | SEO | Site Performance | SSH | Ubuntu Linux | Web Development | Webmaster | Wordpress | Wordpress customization | Wordpress How To | Wordpress Mysql Queries | InfoHeap Money

Copyright © 2025 InfoHeap.

Powered by WordPress